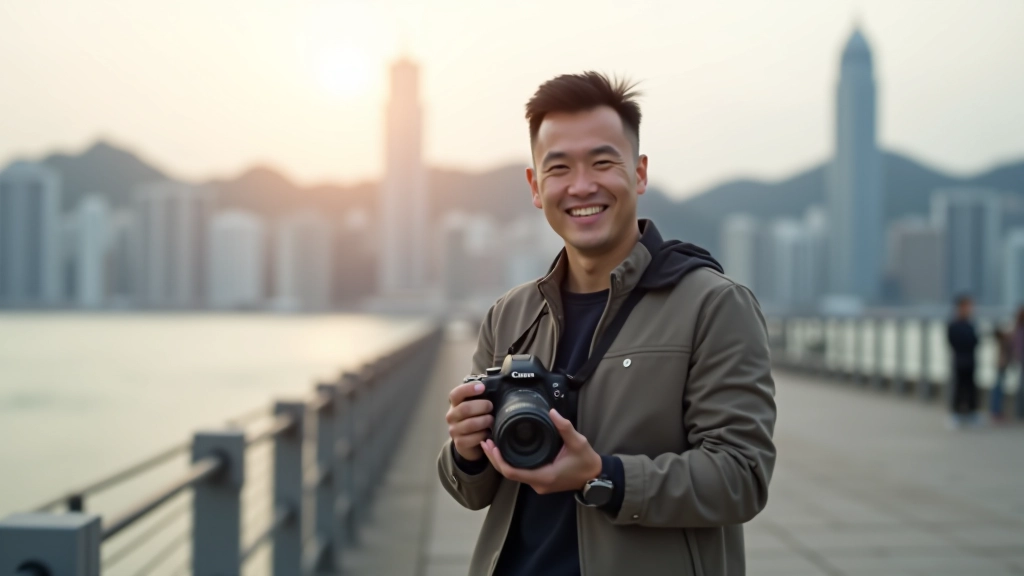
Why Harbour Light Photography Matters
Victoria Harbour isn’t just beautiful — it’s relentless. The light changes every 20 minutes. Water reflects everything differently depending on time, weather, and tide. You’ve got to understand these patterns or you’ll spend hours waiting for a shot that never comes.
The real challenge isn’t the gear. It’s knowing when to shoot and how to read what the light’s telling you. We’ll walk through the technical side, but also the intuitive part — the part you can only learn by being out there, watching, adjusting.
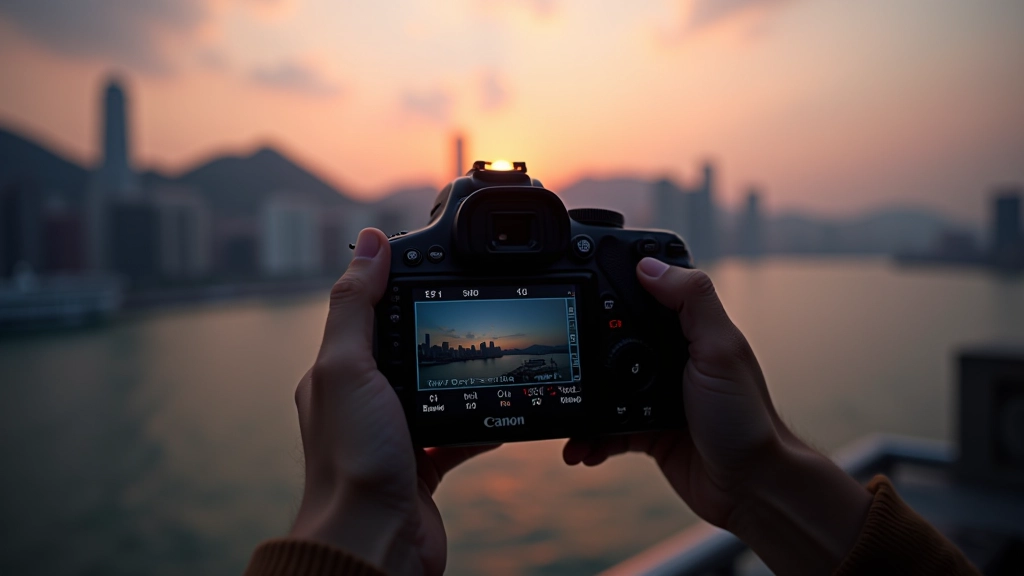
Understanding Exposure in Reflective Environments
Water throws your meter off. A standard light meter sees bright water and wants to underexpose everything else. That’s the opposite of what you need.
Start with spot metering instead of matrix. Point your meter at the sky — not the water — to get a proper exposure baseline. The sky’s roughly consistent; the water bounces light all over the place.
- Spot meter on the sky, not the water
- Increase exposure compensation by 1/3 to 2/3 stops
- Bracket your shots — take three: one underexposed, one normal, one overexposed
- Watch your highlights — blown skies are hard to fix later
White Balance: The Trickiest Part
Here’s where most people struggle. The harbour’s color shifts throughout the day — not just from the sun’s angle, but from the water itself. Early morning it’s cooler (bluer). Around 5-6 PM during golden hour, everything’s warm. Late evening it’s somewhere in between.
Don’t rely on auto white balance. It’ll average everything and you’ll lose the character of the light. Instead, shoot in RAW and set a custom white balance using the water itself as your reference.
Grab a gray card, position it at water level where your subject is, take a test shot, then use that to set your custom white balance. You’ll get consistent, accurate colors across your shoot.
Technical Note
This guide provides educational information about photography techniques and lighting principles. Results vary based on equipment, conditions, and individual skill level. Always test techniques in your own environment before important shoots. Photography fundamentals take practice — there’s no substitute for getting out and shooting regularly.
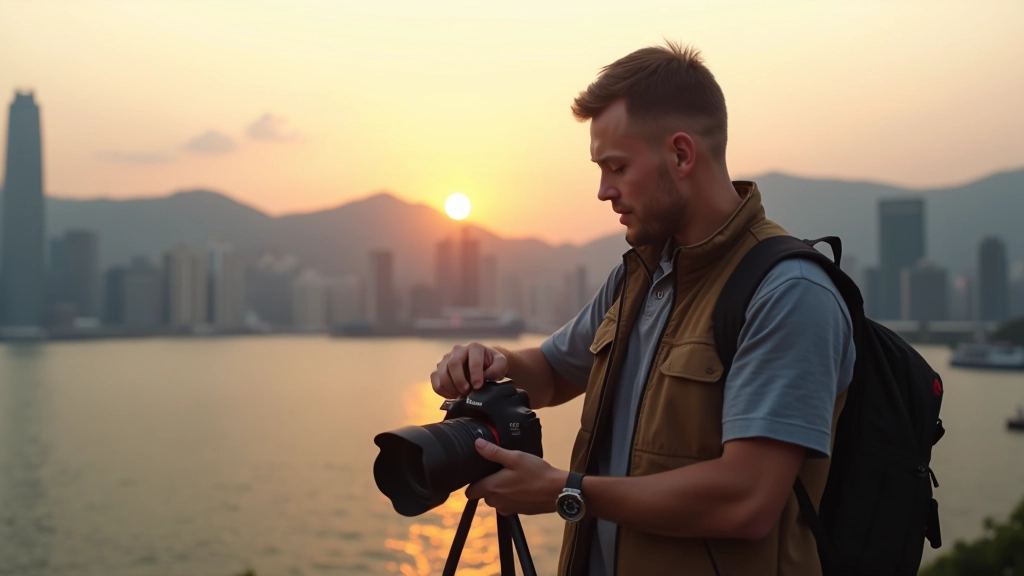
Timing: The Golden Hours Aren’t Actually Golden
Everyone talks about golden hour like it’s magic. It is — but not for harbour photography the way you might think.
Golden hour (roughly 6-8 PM in March) gives warm, directional light. Sounds perfect. The problem? Thousands of other photographers are there too, shooting the same angle. Your images look like everyone else’s.
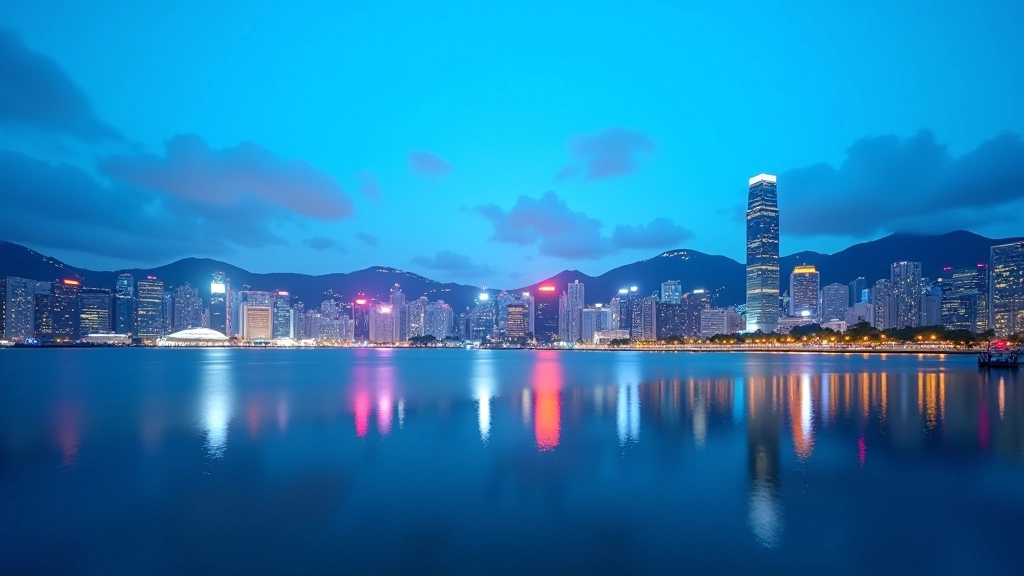
Instead, scout the “blue hour” — that 20-30 minute window right after sunset when the sky’s deep blue but the buildings still have light in their windows. That’s when the harbour gets interesting. The water’s calm-ish, the city lights are on, and you’ve got maybe 100 other people instead of 1000.
Early Morning (6-7 AM)
Cool light, fewer crowds, softer shadows. Water’s usually calm. Trade-off: sun’s low, limited angles.
Midday (11 AM-2 PM)
Hard light, high contrast, challenging reflections. Not ideal, but useful for specific moods.
Blue Hour (7-8 PM)
Sweet spot. City lights on, sky still has colour, fewer photographers. Needs tripod.
Capturing Reflections That Actually Work
Water reflections are tricky. Sometimes they’re sharp and useful. Other times they’re blurry mess that adds nothing to your composition.
Calm water = clear reflections. Windy days = broken, abstract reflections. Neither is wrong, but they’re completely different aesthetics.
Position your camera lower than you’d normally shoot. Get at least 1/3 of your frame as water. This gives the reflection space to breathe. If you’re too high, the water’s just a thin band at the bottom and it doesn’t add anything.
Use a polarizing filter. It reduces glare and makes reflections more visible. On overcast days it’s subtle. During bright sun it’s dramatic. Rotate it until the reflection pops.
Putting It Together: Your First Shoot
Start simple. Pick one location — say Star Ferry pier or Tsim Sha Tsui Promenade. Go three times: early morning, afternoon, and blue hour. Don’t try new techniques. Just shoot and watch how the light changes.
You’ll notice patterns. You’ll see which angles work better at which times. You’ll understand why that 6:30 PM shot worked when the 6 PM shot didn’t.
That’s the real learning. Not the technical stuff — the observation. Photography’s 20% technique and 80% patience. The technique gets you sharp, exposed images. The patience gets you images people actually want to look at.